A fashion mood board is a decision tool dressed up as a collage. Done well, it turns a vague feeling, like "I want to dress more like an adult" or "something for the coast in June", into a short list of pieces and colors you can actually shop for, pack or put together from what you own.
The method below works for a single outfit, an event, a season or a whole capsule wardrobe. It takes about an hour the first time. You can do it on paper with a corkboard and pins, or in the mood board maker on this site.
1. Write down what the board is for
Before you collect a single image, finish this sentence: this board is for… A friend's wedding in September. Ten days in Lisbon with one carry-on. Work outfits for a new job. A winter coat and everything that goes under it.
The purpose decides how many items belong on the board and how practical they need to be. A board for a single event can be one outfit plus accessories. A capsule board needs pieces that work with each other in several combinations. A pure "vibe" board, made to explore a style, can be looser, but it still benefits from a sentence at the top.
2. Collect wide, for a few days
Gather more than you need: thirty to fifty images is a comfortable amount. Good sources include shop pages, street-style photos, film stills, your own camera roll, and photos of places, objects and fabrics. Screenshots are fine; this is a private working document.
Collect over a few days if you can. Things you save on day one in a burst of enthusiasm tend to be different from what you still like on day three, and the overlap is the interesting part.
Include at least one image that is not clothing. A room, a landscape or a texture often says what you mean better than a garment does. A photo of a stone wall and a single branch in a vase tells you more about "quiet luxury" than another beige coat.
3. Cut to one board
Now edit. Spread everything out and sort it into three piles: yes, maybe and not this time. Be quick; the first reaction is usually right.
From the yes pile, pick the image that most clearly says what you want. That is your anchor. Put it on the board first and large. Then add only what supports it. For most purposes, six to ten images is enough. A common rule of thumb in styling is that if you cannot explain why an image is on the board, it should not be.
4. Lay out the anchor, then the supporting pieces
Placement matters more than people expect. Put the anchor where the eye lands first: top left or center. Group items that would be worn together, so you can read outfits off the board instead of individual pieces.
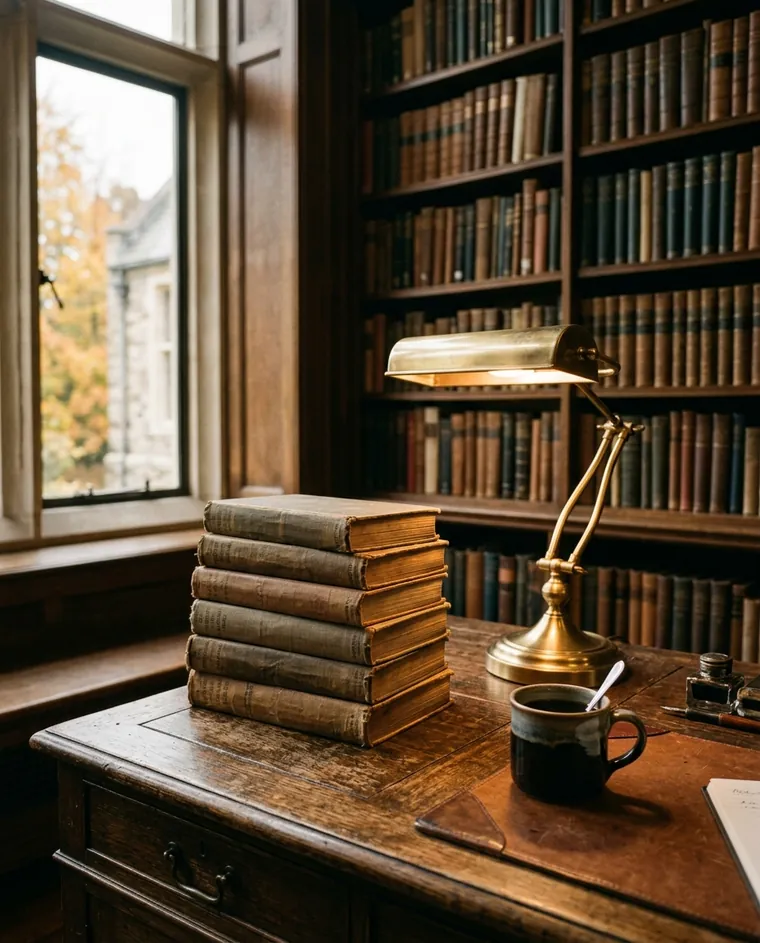
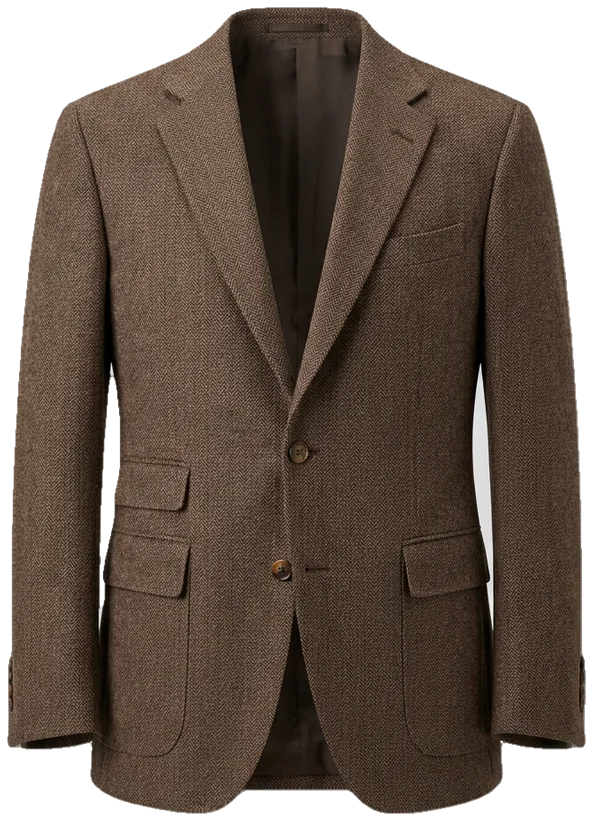
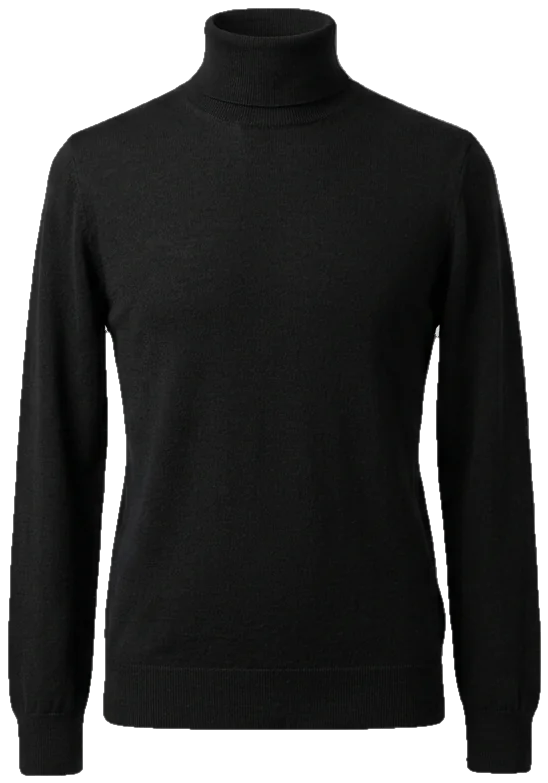
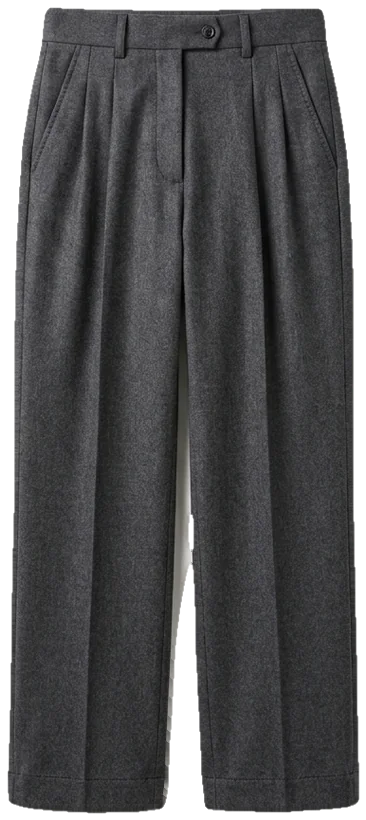
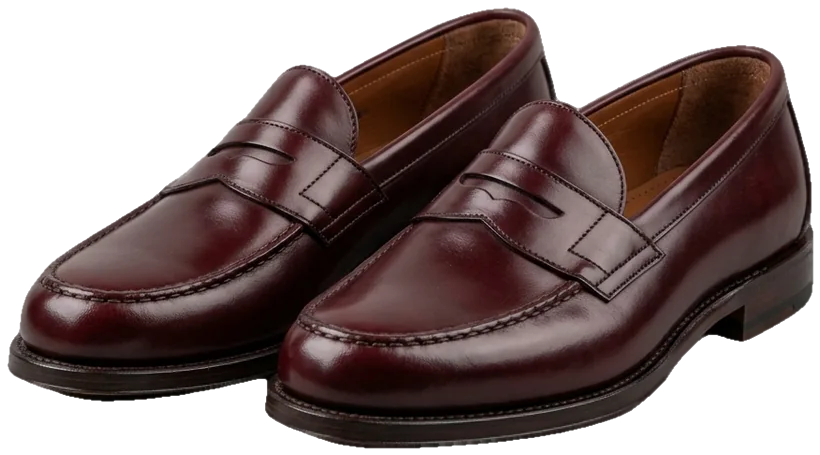
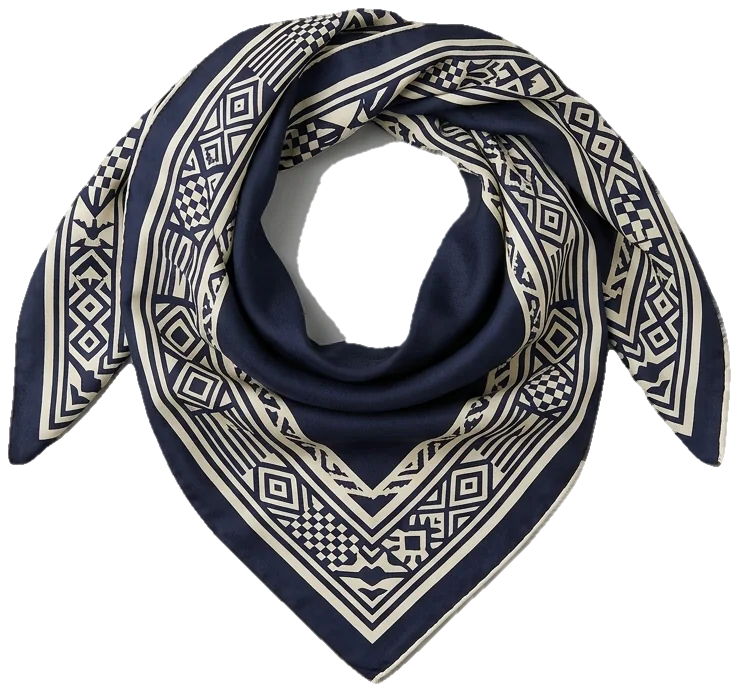
library at 4pm. wool, not polyester.
Overlap is your friend. On a real corkboard, pinning a scarf partly over a blazer shows you how they look together far better than two separate rectangles. In the maker, use Forward and Back to control what sits on top.
If you are planning outfits, try arranging the pieces roughly where they would be on a body: tops above bottoms, shoes at the bottom. It sounds obvious, but it makes proportion problems, like a long coat over long wide trousers, much easier to spot.
5. Pull out the color story
Once the images are in place, look at the colors across the whole board, not item by item. Most good boards have two or three main colors and one or two accents. The maker samples the pixels of each pinned image and shows the main colors automatically; on paper, squint at the board or take a photo of it and blur it slightly.
Ask three questions. Is there one color that dominates? Is there something that breaks the pattern, and is that on purpose? Do the neutrals agree with each other in warmth, or is there a cold gray sitting next to a warm camel? There is a whole guide on this: how to build a color story.
6. Write on the board
Words are what make a mood board yours. Add a short note in your own language: salt air, linen, nothing ironed. Fewer, better. Pockets I will actually use. These notes are what you will remember in a shop when you are tempted by something that does not fit the plan.
Notes are also a good place for practical constraints: a budget, a dress code, "must work with my black boots", "nothing dry-clean only".
7. Remove one thing
When you think the board is done, take one item off. Look again. Most of the time the board is clearer without it. If it is not, put it back; nothing is lost.
8. Use it
A board you never look at again is just a collage. Some ways to put it to work:
- Shop against it. Keep the PNG on your phone. Before buying, check whether the piece belongs on the board.
- Shop your closet first. Pin photos of things you already own that fit the board. The gaps that remain are your real shopping list.
- Pack from it. For a trip, a board makes it obvious when you have four tops and nothing to wear them with.
- Try it on. Seeing pieces on a board is not the same as seeing them on your body. A try-on, in a shop or virtual, is the reality check.
Check the board on your own body
Upload a photo of yourself and a photo or shop link of a garment; FitInView shows you wearing it. Your photos are private to your account.
Your first try-on is included with a free account. No card needed.
Common mood board mistakes
Too many images
Fifty images on one board stop saying anything. If you have a lot of material you love, make two boards with two different purposes.
Only clothes
Garment-only boards can look like a shopping cart. One or two images of places or textures give the board its mood and make the colors easier to read.
Ignoring your real life
A board full of heels when you walk everywhere, or white linen when you have a toddler, is a fantasy board. That can be fun, but label it as one. For a wardrobe you will wear, add a note about how you actually spend your days.
Copying a trend board wholesale
Templates and trend boards are a fine start. The useful part is changing them: swap pieces for ones that suit your coloring and your life. The templates on this site are built for exactly that.
Paper or digital?
Both work. A physical corkboard is lovely for a long project, like a season's wardrobe, because you see it every day and can live with it. A digital board is faster to make, easy to rearrange, and you can carry it to a shop on your phone. Many people collect digitally and print the final board.
If you go physical, a cork or foam board around 16 by 20 inches, push pins, washi tape and a printer are all you need. Print images small; the edit matters more than the size.